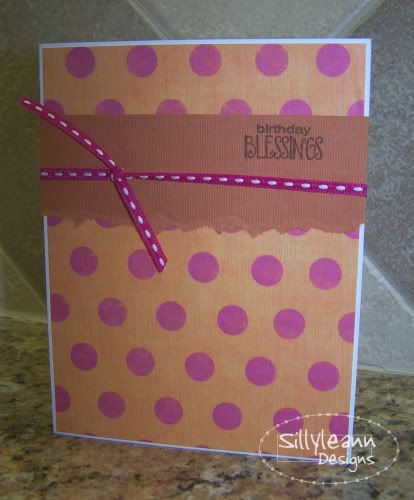
Today's card was a request to make something with purple that was a more mature card. :) Yes, neither are really me. But, I came up with something I thought turned out elegant in the end.
Contents: Paper - ???; Ribbon - HL; Stamp - Clearly Wordworth; Brads - Paper Studio
Wednesday, April 30, 2008
Tuesday, April 29, 2008
Sweet and Simple
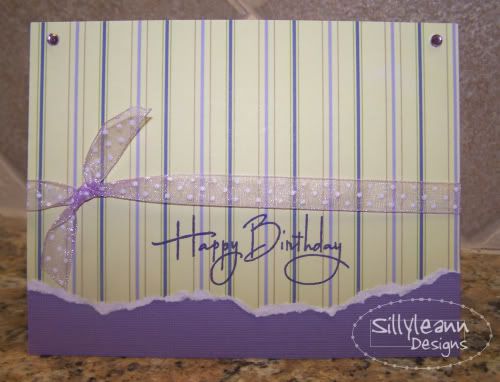
This is just a sweet and simple Happy Birthday card. In a rush today!! Sorry for such a short post!
Contents: Paper - MME; Ribbon - HL; Stamp - SillyLeAnn Designs
Monday, April 28, 2008
Bunnies Invade Cricut Monday
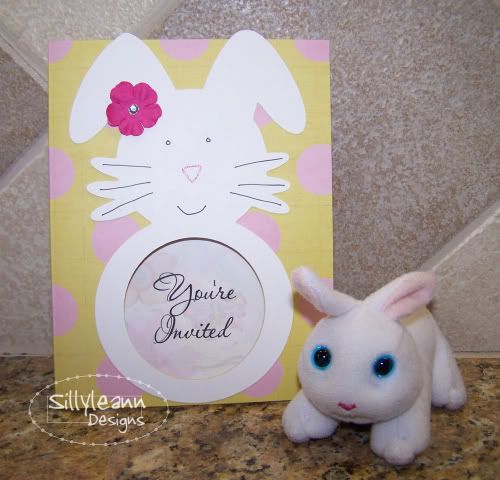
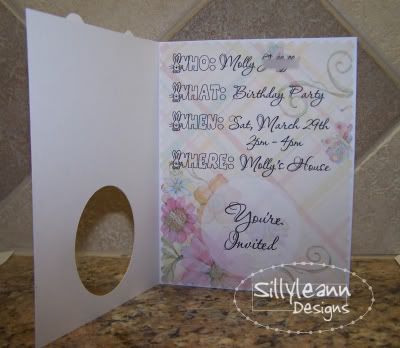
I have tried to post cricut projects every Monday . . . not with great success . . . but I try to keep that day dedicated to anything I make with my cricut. Today's share is one of my all time favorite projects. I made some birthday invites for my niece who was having a bunny birthday party. I used the Design Studio (I only have the demo at the moment) to make the bunny.
Contents: Rabbit - Cut from the Cricut Design Studio all from the George Cartridge using my Cricut; Card base - cut from the same; Pens - Gel pen and Making Memories; Flower - Portfolia; Jewel - Dollar Store; Pattern paper - digital paper from Polka Dot Potato
Contents: (All Digitally Created and Printed) Scallop border - SillyLeAnn Designs; Fonts - ???? (will try to locate the names) Background paper - two papers blended together from the Potato Hunt at Polka Dot Potato
I was pleased with how they turned out overall. I hope she really enjoyed them as well.
Saturday, April 26, 2008
Happy Birthday
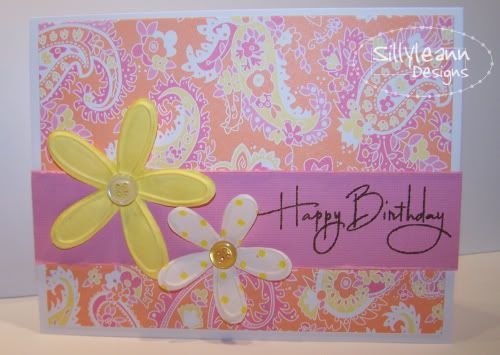
Yesterday was my SIL's birthday. Many of you know that we make and sell cards together. So, of course, I made her a birthday card. I really would have loved to "WOW!" her with my creation. But, instead I found a great color palette and fun design that I think she will love. I'll find out tomorrow when we celebrate her birthday. :)
Contents: Paper - MME and Bazzil; Flowers - Prima; Buttons - Foof-a-loof; Stamp - Clearly Wordworth
Friday, April 25, 2008
Paper Trey Ink Blog Hop
Welcome to my blog - my creative piece of the world. I try to share lots of my crafty things on this blog - cards, scrapbooks, digital scrapbooks, decor, etc. This is my very first time to participate in the PaperTrey Ink Blog Hop. I was so excited to use her paper that I decided to jump right in.
Here is my creation:
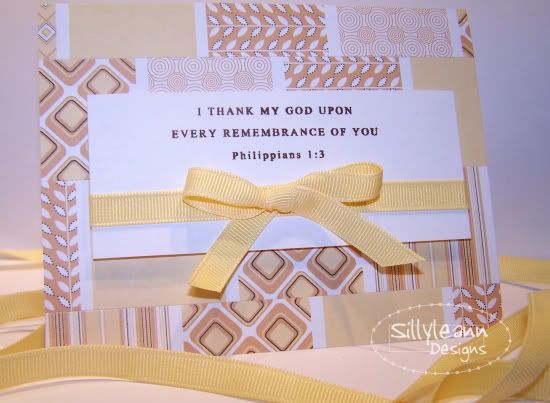
The paper is of course from PTI. The stamp is from their Everyday Blessings Collection. The ribbon is from my large stash of grosgrain.
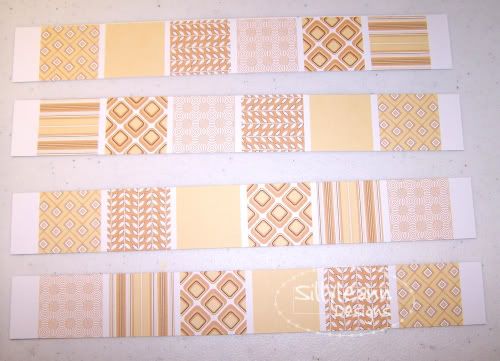
I began by cutting the paper into rows leaving the squares together with a piece of white.
Next, I folded my card base and applied glue to the entire card front. I arranged the strips of paper onto the front.
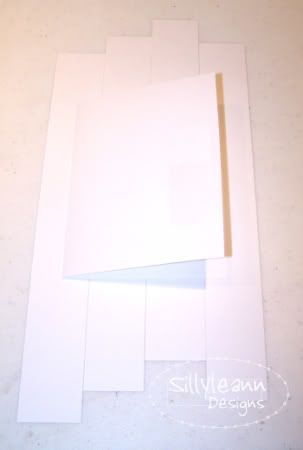
You can see this better if I turn the card upside down. I didn't glue it this way. I actually applied each row separately to the front. It allowed me to position it evenly. I only turned it over for this photo so you could see what I meant. Next I cut off the excess from around the card. Violla! My card front is done.
I stamped a piece of white card stock and added the ribbon.
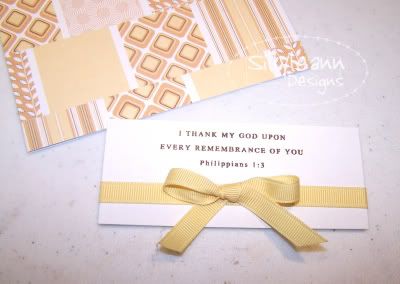
I attached the verse with pop dots to add extra dimension.
Thanks for reading!!
I cannot wait to see what everyone else has come up with. I know there are going to be many fabulous things! I hope you will come back again, soon.
Thursday, April 24, 2008
Digi Cards
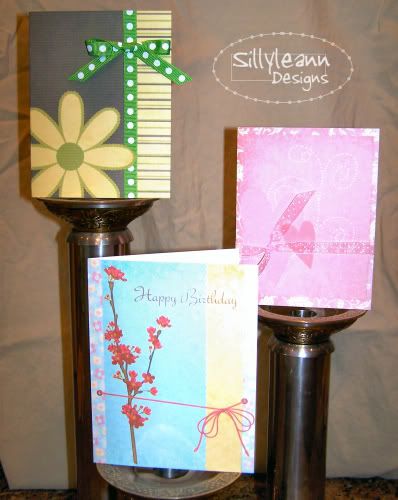
I just made some really fun digital cards that I printed out. So, technically they would be considered hybrid because I used real products over the top of 2 of the 3 cards. I haven't made any like this to date (at least that I can remember).
Contents: All of the cards are made with Andrea Gold's Card Template Set #3
The Pink and Blue cards were made with Graziela Mendes' "A Spring Garden" Kit that is currently on the Polka Dot Potato Bar. The Green and Yellow card is made from Andrea Gold's Discover Kit. All the ribbon is Hobby Lobby ribbon.
These were so much fun to make. I can see me making a few more of these (although I probably won't be selling my digital or hybrid cards).
Sassy Girl
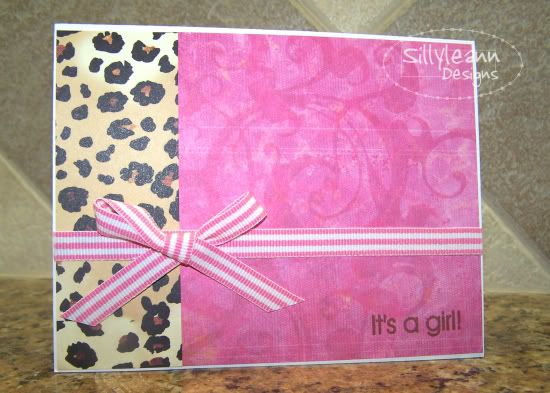
I really like animal print, but I personally couldn't live with it in my everyday surroundings (okay, maybe I could but my family could not). So, I have brought a piece of it to my crafts, just for fun! This is a fun, cute baby girl card.
Contents:
Paper - The Paper Studio and MME; Ribbon - RABOM; Stamp - SillyLeAnn Designs
Contents:
Paper - The Paper Studio and MME; Ribbon - RABOM; Stamp - SillyLeAnn Designs
Wednesday, April 23, 2008
Cowboy Wedding
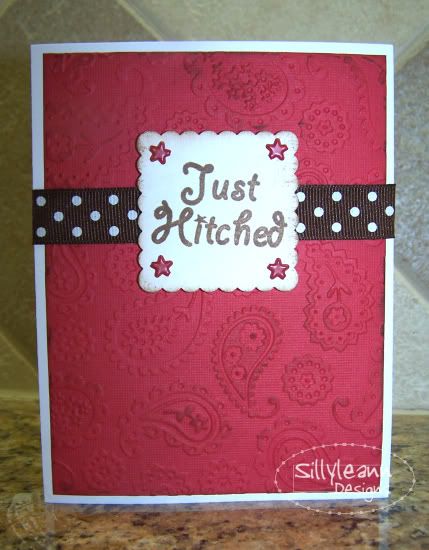
In honor of the rodeo birthday party, I made a western/cowboy wedding card.
Contents: Embossing - Cuttlebug Paisly; Ribbon - HL; Brads - The Paper Studio; Stamp - SillyLeAnn Designs
I am getting back in the swing of blogging (hopefully). I have several new cards to share and I still need to share all of my son's birthday party things. Believe me. You won't want to miss his invitations!
Friday, April 11, 2008
By: My Sister-in-Law
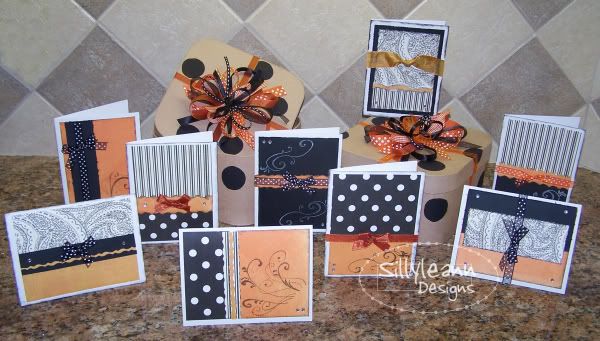
Many of you know that I make and sell cards with my sister-in-law. We were talking the other day about all the different cards we have made over the past year and a half. We were laughing at some and I started to remember some of my favorites. I wanted to share a set of note cards that she made that are still some of my favorite cards that either one of us has ever done.
She used a variety of products and stamps. I made the boxes that the cards are setting on. We sell these as an option with the note card sets. These were so fun. I was very impressed with how they came out overall. We have made so many different note card sets. I will try to post some of my others along side my usual card posts. And, I will try to put a few of her cards up from time to time. She doesn't blog, so I will have to share her creativity with the world.